Workspace Management
What is a workspace?
A workspace is an isolated environment for Hubble and Kuiper with its own network policies; connecting to a workspace lets you launch workloads.
Renamed from Projects
Workspaces were previously called Projects. The existing project API endpoints are still fully functional, but are now deprecated in favor of new equivalent workspace endpoints. New integrations should target the workspace endpoints going forward; the project endpoints will be removed in a future release. Titan group assignment also currently accepts both "Workspace" and "Project" as this group type, existing "Project" groups continue to work unchanged, and this will be consolidated to "Workspace" only in a future release.
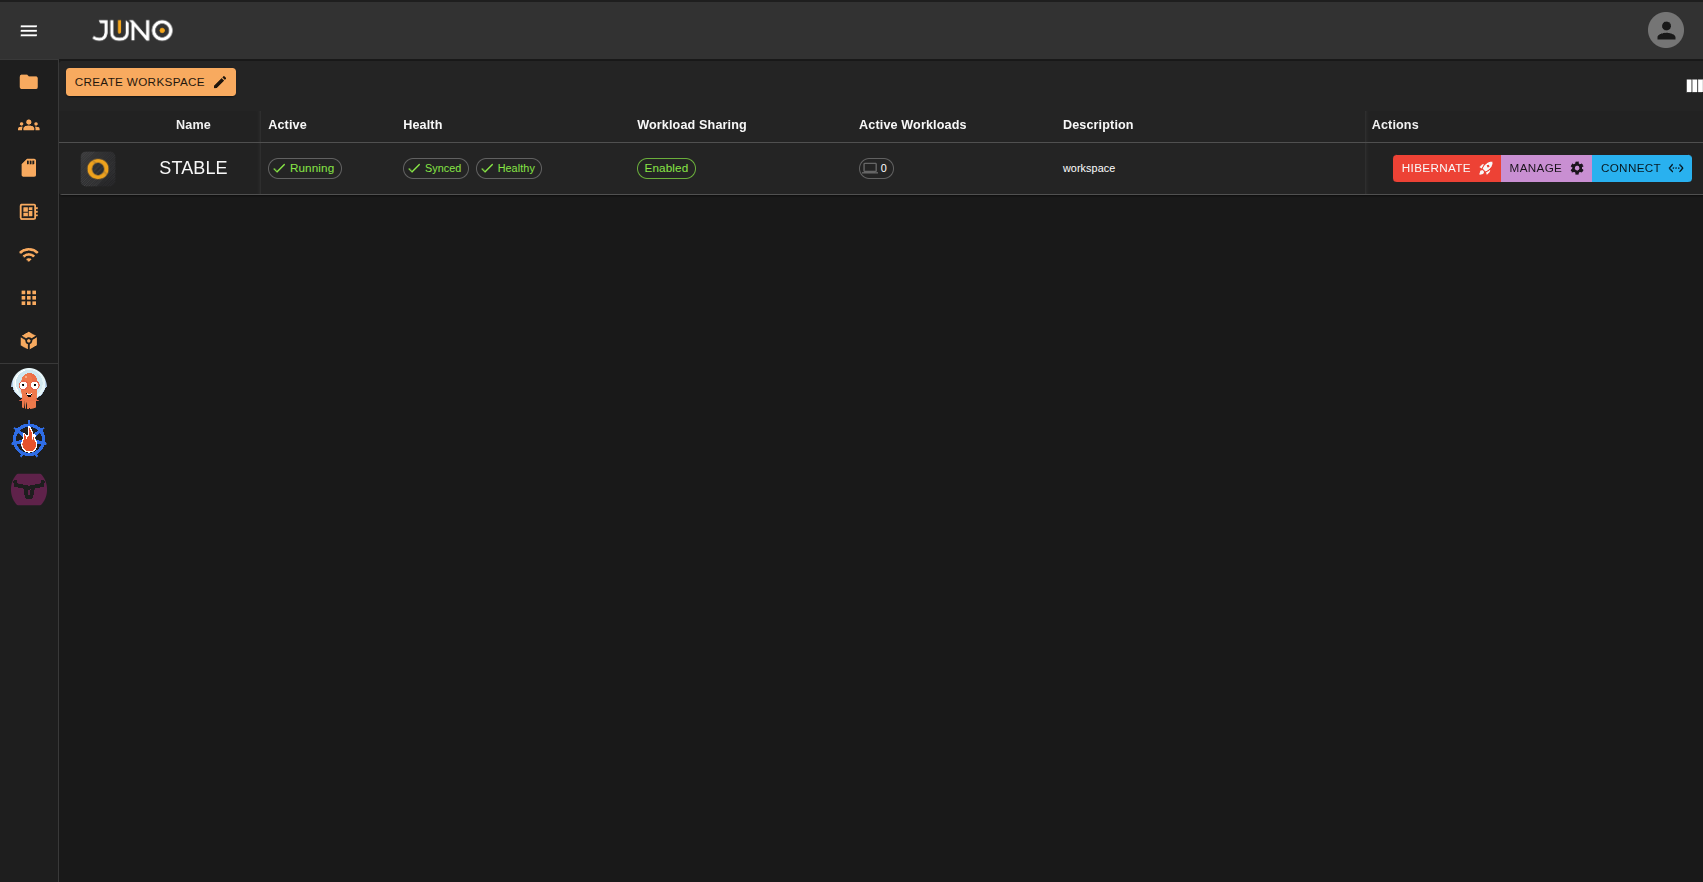
The workspace management page allows admins to create, configure, and activate workspaces. While also allowing users to connect to their assigned workspaces. See user group assignments on our User Management Page for more information. Users can also see which workspaces are active, the status of each workspace, which products are active on each workspace, the number of active workloads currently running on a workspace, and the description of the workspace.
Workspace Creation
At the top left of the workspace table, there is a button labeled "CREATE WORKSPACE" clicking this button opens a workspace creation wizard.
Note
Admins are the only users that are able to create new workspaces. Learn more about user management here
Getting started
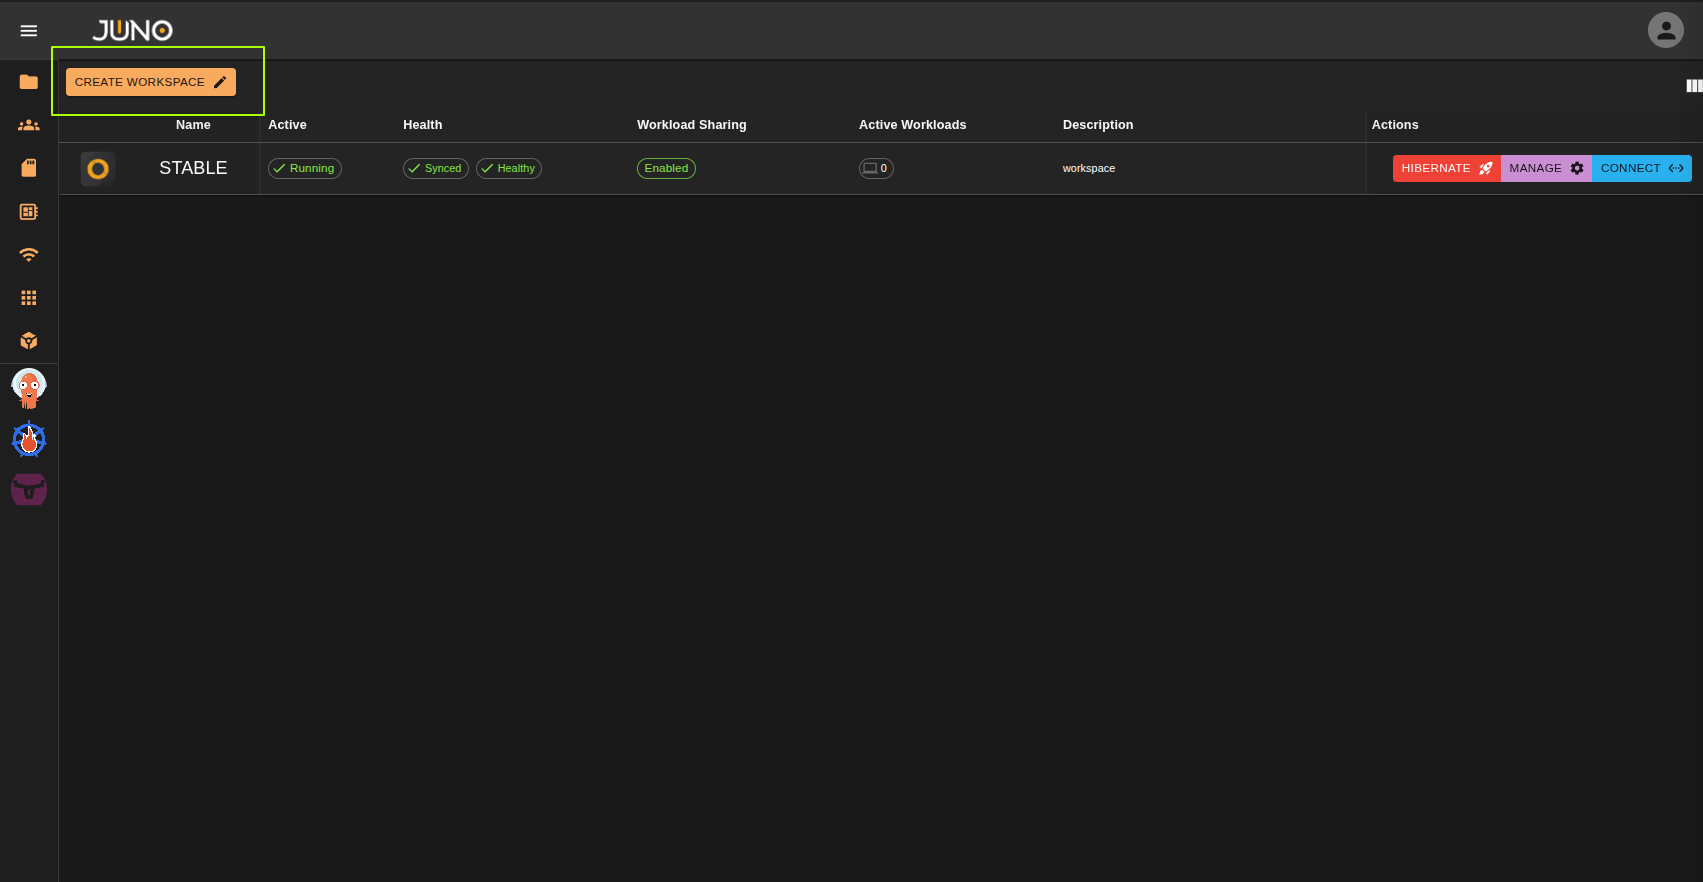
The first three fields in our getting started section must all be filled out before proceeding to the configuration section.
- Workspace names must be alpha and lowercase characters only.
- Only admin users can be selected as an owner of the workspace
- A GUID must be given. This will be used when creating the workspace group for user assignment.
- Once all fields are filled in click the NEXT button to continue to the configuration section.
Configuration
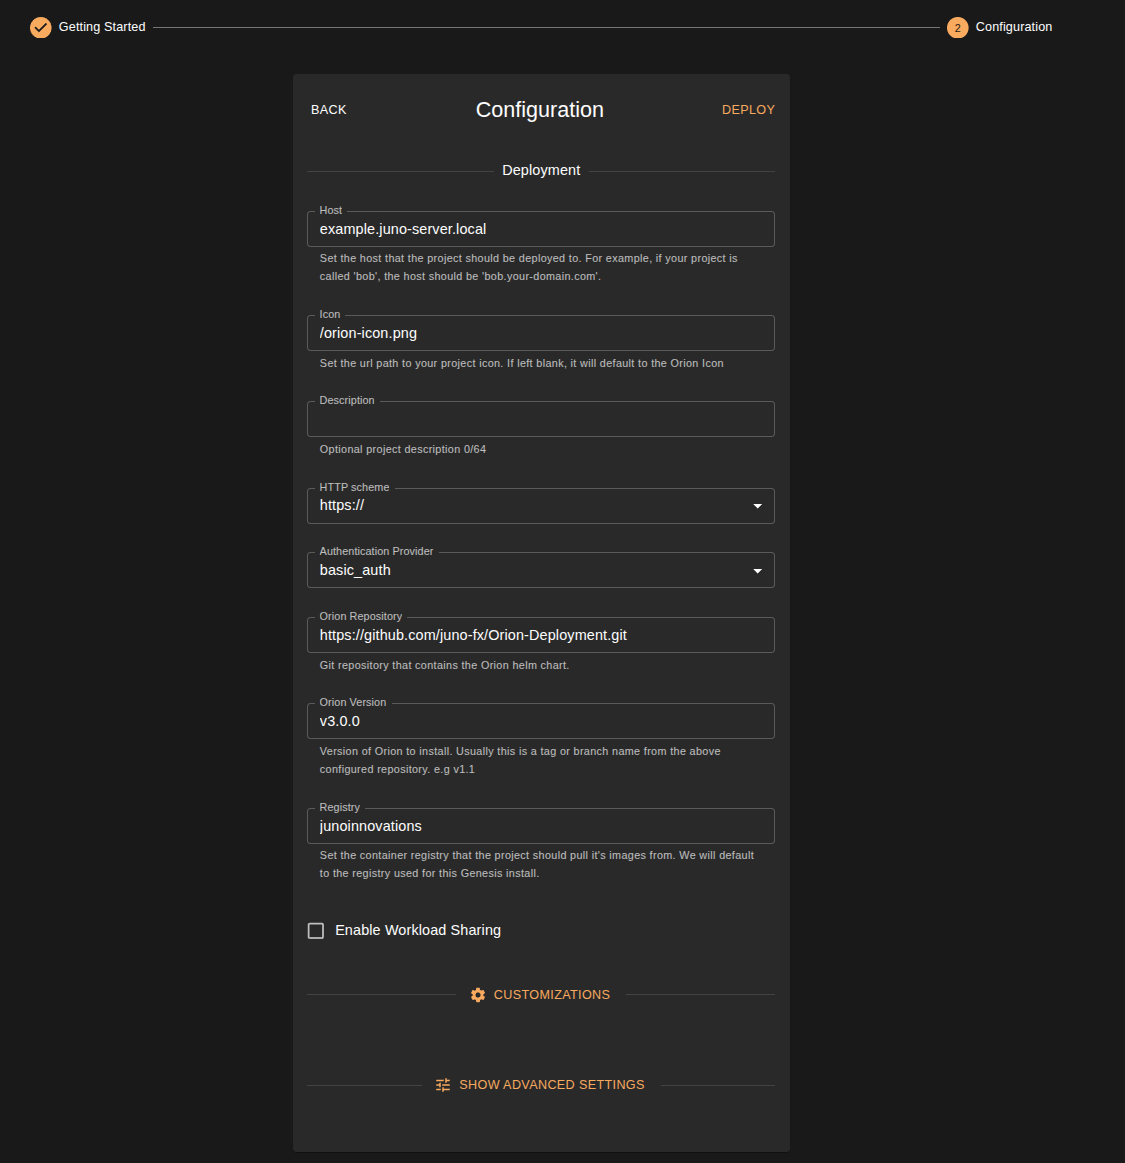
The configuration section, is where you can set your workspace's configuration. Once completed, simply click DEPLOY to finish the workspace creation wizard.
REQUIRED FIELDS
- The host url. Workspaces can now share the same host as Genesis, see Path Based Routing below.
- HTTP scheme
- Authentication Provider
- The repository for the orion deployment helm charts
- The Orion version to install
- The registry where the workspace will pull the images from
- Which products you wish to activate for the workspace.
OPTIONAL FIELDS
- Workspace Icon
- Workspace Description
- Ingress Class. Selects which installed
ingressClassthe workspace uses. Only ingress classes available on the cluster are selectable, so this is only worth changing if you have more than one ingress controller installed. The same field is available on the Genesis settings page - Enable Workload Sharing. Checking this box, will allow users to share their workloads with one another for this workspace environment.
- You can add additional customizations to the workspace. These will be additional helm charts to install alongside the main Orion deployment charts. Example: NVIDIA GPU Operator
- You also have access to advanced settings for the workspace. Where you can choose specific product versions to install. Doing this is not recommended as each Orion deployment has these versions pinned to ensure compatibility
Path Based Routing
Genesis and Hubble both support path based routing. A workspace can be given the same host as Genesis itself, and is then reached on a path under that host rather than on a hostname of its own. This removes the need to create a custom DNS record, and issue a certificate, for every workspace you create.
For example, with Genesis served at orion.example.com, a workspace named vfx is reachable at
orion.example.com/vfx instead of requiring a dedicated vfx.example.com record.
Custom hosts are still supported
Path based routing is an option, not a replacement. You can still give any workspace its own host, and existing workspaces configured with a custom host continue to work exactly as they did before. Set the host to your Genesis host to use path based routing, or to a hostname of its own to keep a dedicated host for the workspace.
When to use each
| Approach | When to use it |
|---|---|
| Shared host (path based) | The default choice for most deployments. No per-workspace DNS record or certificate is needed, so new workspaces can be created without any external setup. |
| Custom host per workspace | Use when a workspace needs to be isolated to its own hostname, for example to satisfy a security or client separation requirement, or to point a workspace at a different ingress or certificate. |
The host is set in the Configuration step of the workspace creation wizard, and can be changed later by reconfiguring the workspace from the Manage action.
Changing the host of an existing workspace
Switching a workspace between a custom host and the shared Genesis host changes the URL users connect to. Any bookmarks or direct workload links pointing at the old host will need to be updated.
Workspace Actions
Non-admin vs admin privileges
Admins are the only users that are able to activate/hibernate, manage and configure the workspaces. Non-admins are only able to connect to their assigned workspace. Learn more about user management here
Activate/Hibernate
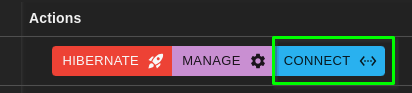
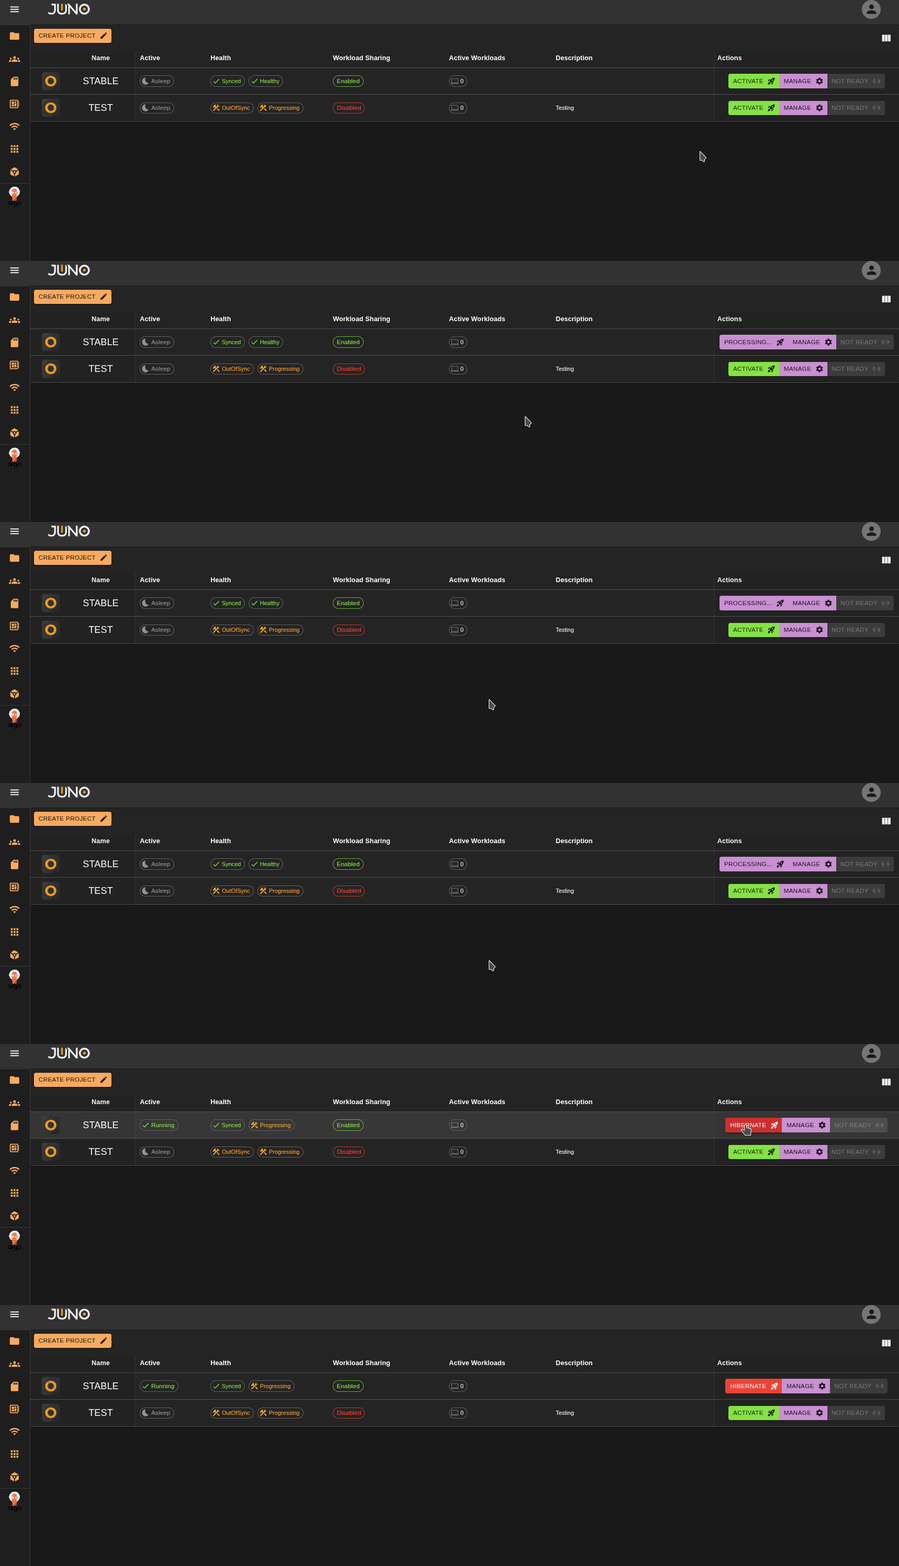
From the main workspace table, you will see your available actions for each workspace. Clicking Activate will begin scaling up the compute resources for the workspace. Once it's ready users can then connect to the workspace via the connect button. To hibernate a workspace and scale the compute resources back down, simply click the hibernate button. You will be prompted with a confirmation pop up before proceeding with the hibernation process. Please note all active workloads on a workspace must be shutdown prior to hibernating.
Manage
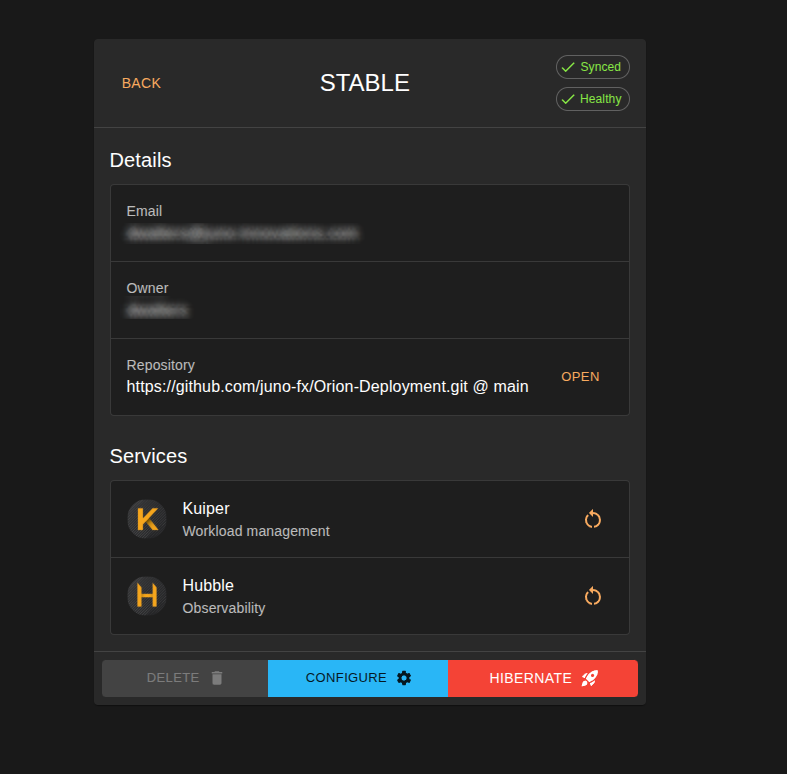
The manage button is only available to admins. Any admin can manage a workspace, not just its owner. The manage page shows the workspace's sync and health status, its details (email, owner, and deployment repository), and its services. From the buttons along the bottom, admins can delete the workspace, open the configuration form to reconfigure the workspace via CONFIGURE, and activate/hibernate.
Restart Workspace Services
The Services section lists the workspace's Kuiper and Hubble services. Click the restart icon on either row to restart
that service. This restarts the service for that workspace only, without touching any other workspace, and saves you
having to restart the deployment by hand with kubectl.
Restarting is per-workspace
These controls act on the Kuiper and Hubble deployments in that workspace's namespace. To restart cluster level services, use the restart controls on the Genesis settings page instead.
Connect
Once a workspace is active and ready, users that are assigned that workspace can click the connect button, to connect directly to that workspace deployment. Read more about hubble here